Mending clothes isn’t something that’s only reserved for a visit to the tailor. In fact, by knowing a few DIY tricks, you can save some money AND save your outfit when you’re in a pinch!
This post may contain affiliate links, which means I’ll receive a commission if you purchase through my links at no extra cost to you. Please read full disclosure for more information.
Rip, snag, crack, break… when it comes to mending clothes, I’ve done it all. Perhaps it’s because I’m a bit clumsy, but I’ve caused tons of weird accidents where I’ve ruined perfectly good clothes.
Plus, unfortunately, the quality of many items these days can be dubious at best, but even in this case, I often like the item too much or get too much wear out of it to simply throw it out.
And my low student budget for many years meant that I couldn’t throw it out—I had no option but to fix my clothes. While you can definitely take your more expensive pieces or more damaged clothes to the tailor, there are a bunch of easy ways to mend clothes that you can do at home.
So, here are some of the top DIY clothing fixes I’ve compiled over the years, and hopefully they help you save that garment that you’d really rather not throw out.
Where possible, I’ve also included photos of where I’ve done the fixes myself so you have a reference.
Let’s get mending!
Table of Contents
1. My Top Tip for Mending Clothes: Sew a Button Back On
Learning to sew a button is one of the first ways you can learn how to patch clothes by hand.
This is a really common problem, so it’s a great skill to know as you’ll likely have to sew buttons on over the years. I’ve also used this knowledge of hand sewing to sew snaps on pants to make the waistband fit better.
You can sew the button back by yourself by getting a cheap sewing kit from the dollar store or fabric shop—all you need is a needle, thread, and a pair of scissors, and you can find some basic hand-sewing tutorials online easily.
Here’s a simple one from YouTube user Nicki Callahan:
One thing I’d like to point out with buttons is that you can use them as a fun opportunity to make your clothes look more interesting.
If you happened to lose the extra button your piece came with or bought it second-hand and don’t have the extra button handy, you can add a cool “accent” button instead.
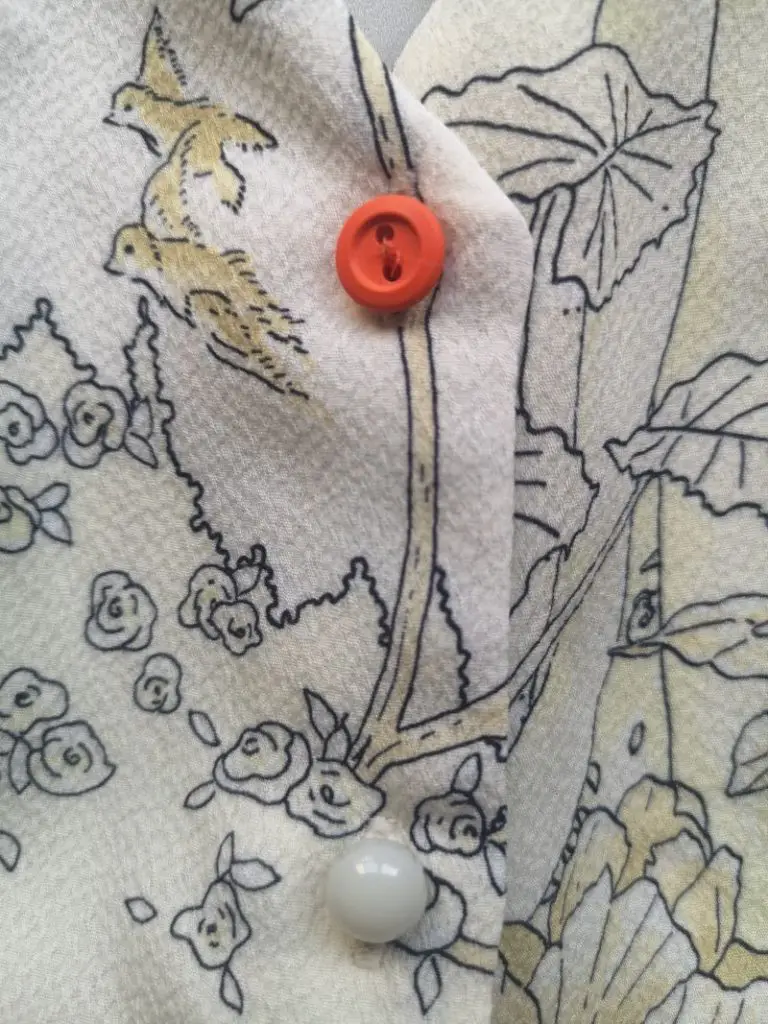
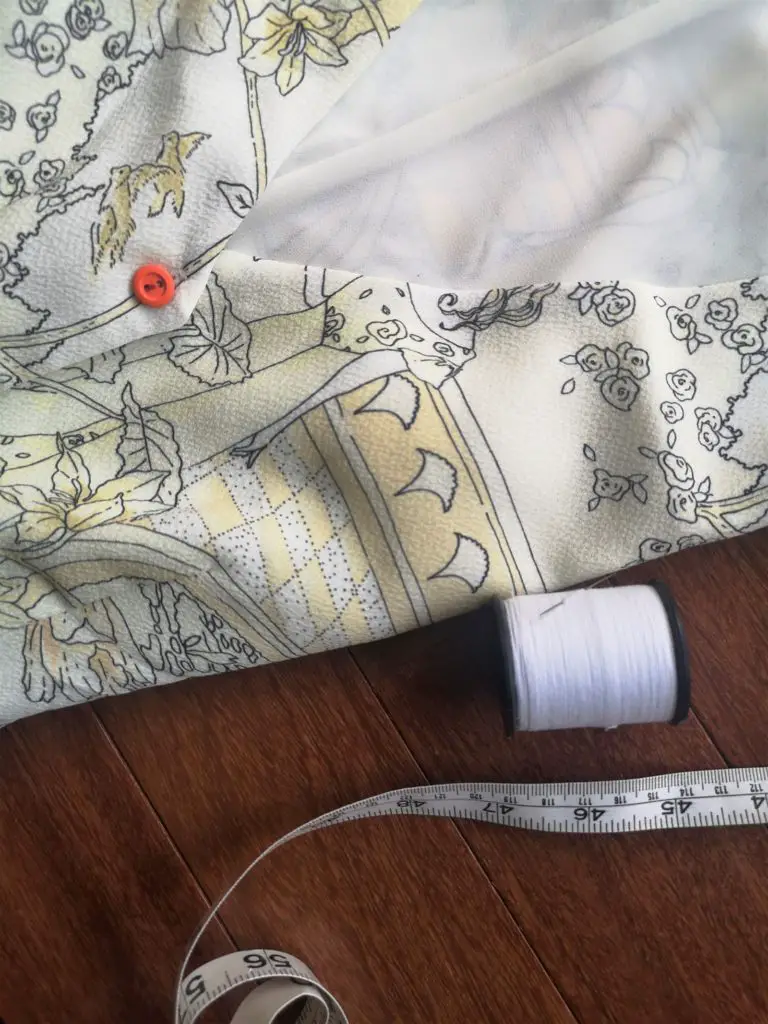
For example, I bought a dress on sale at the store that was specifically on sale because it was missing two buttons in the middle of the dress.
Since the dress only came with one spare button, I attached that one to the middle of the dress. Then, I took off one of the other buttons and carefully sewed it to the second middle area that was missing a button, which left the top area free.
I picked out a cool orange button at the fabric store (instead of worrying about trying to find a button that looked exactly like the ones already on the dress, which wasn’t likely).
The result was a super cool accent button at the top of my dress that made it just a bit more interesting and gave it a pop of color!
2. Use a Needle to Pull Sweater Snags Back Through
Sometimes, portions of your sweater can come loose (especially if they snag), and loop outside of the sweater, which doesn’t look so great.
This technique for patching clothes works best with sweaters that have a wide knit with plenty of holes.
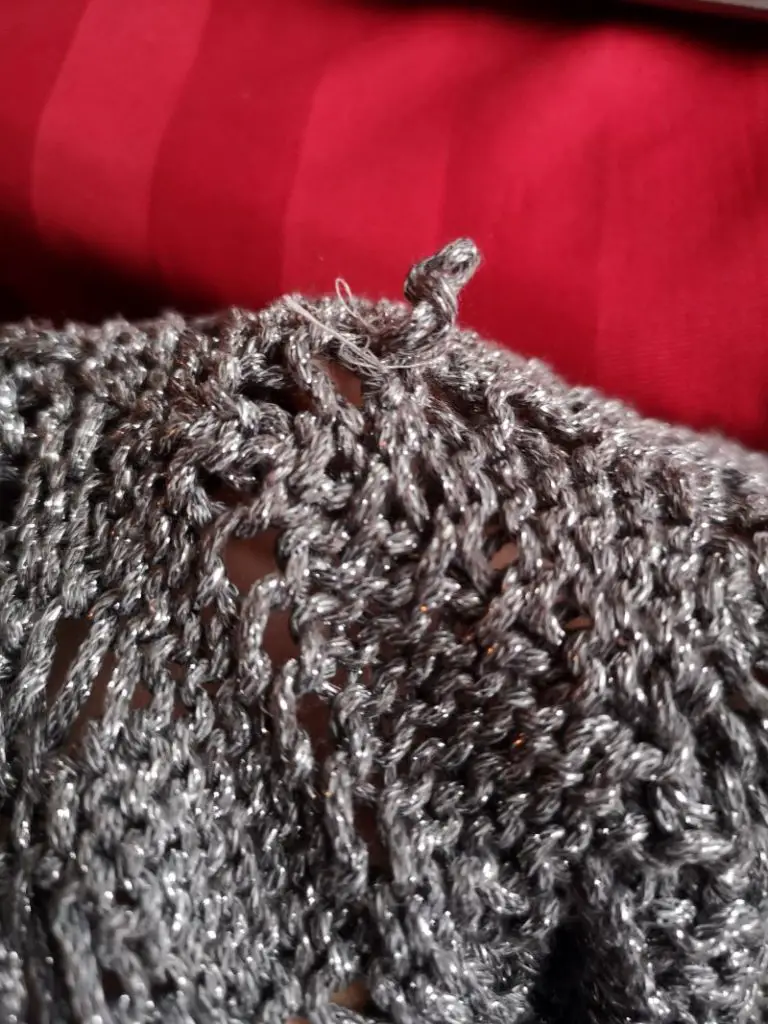
I simply took a needle (you can use any thin object to pull it through as well, like a toothpick or knitting needle, depending on how loosely knit your sweater is), looped it into the loose yarn, and pulled it back through to the inside of the sweater.
The image below is the inside of my sweater after I applied this fix:
If the loop is really long and you think it might come back out, you can always try tying it into a knot from the inside, or hand-sewing the loose piece to a portion of the inside of the sweater (don’t cut any loops as you could permanently damage your sweater and cause it to unravel).
In my example, I looped it through with a toothpick and then sewed the loose loop to the inside of the sweater (the neatness of the sewing didn’t matter to me much since it wouldn’t show). Good as new!
3. Use an Iron-on Patch to Fix Rips in Pants
This is one of my favorite ways for how to repair a tear in fabric when the tear is in an awkward place. It’s also a great tip if you want to know how to fix a hole in clothes without sewing!
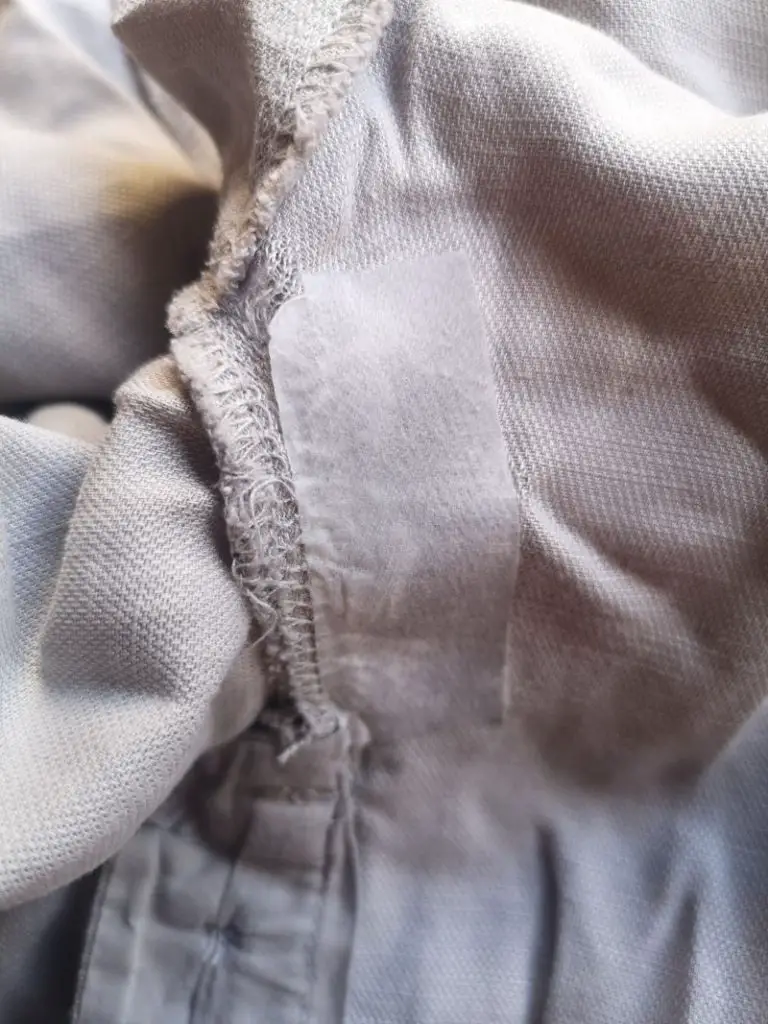
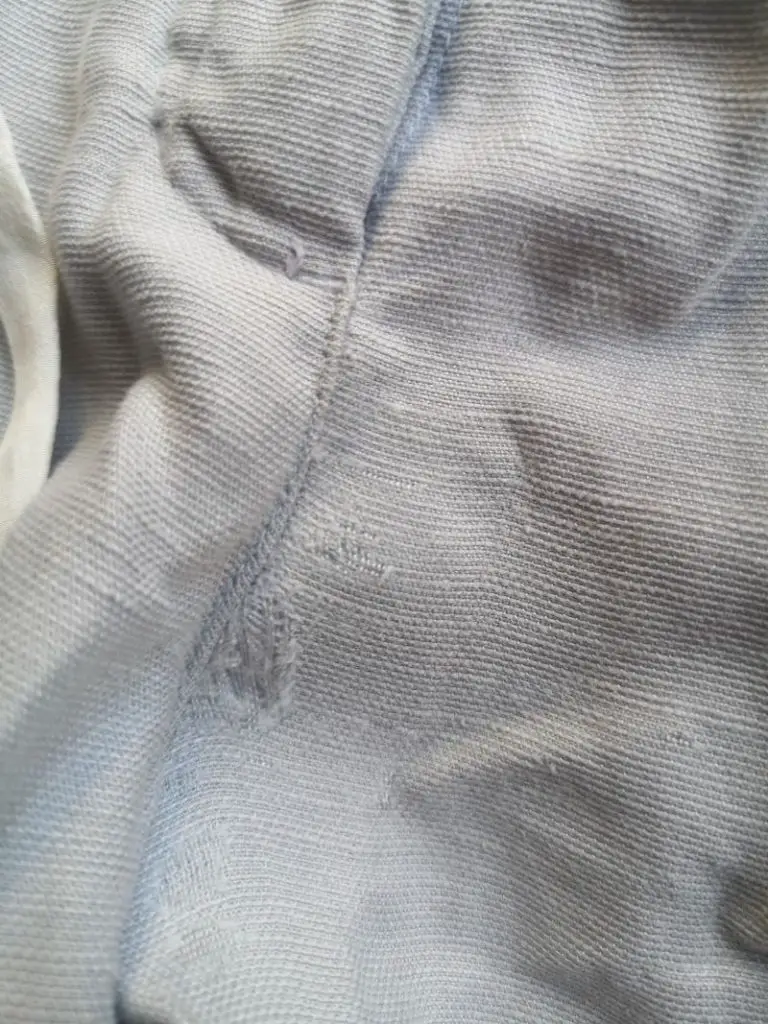
I had a pretty much brand-new pair of linen pants (that weren’t very cheap) that ripped when I threw them into a top-loading washing machine and didn’t put them on the delicate cycle.
They ripped near the crotch area but nowhere near a seam, which meant that I could either throw them out or try to fix them with a patch, which I did!
You can buy iron-on patches like the one I used at your local fabric store (just make sure to follow the instructions on the packaging!).
This method also works with denim and many other fabrics, as iron-on patches often come in many different colors. Just make sure to buy a patch color that will match what you’re trying to fix in case a part of it is visible.
In my case, I used a clear/whitish patch as a tiny portion of it showed through the pants on the outside.
4. Fix Shoe Issues with a Glue Gun
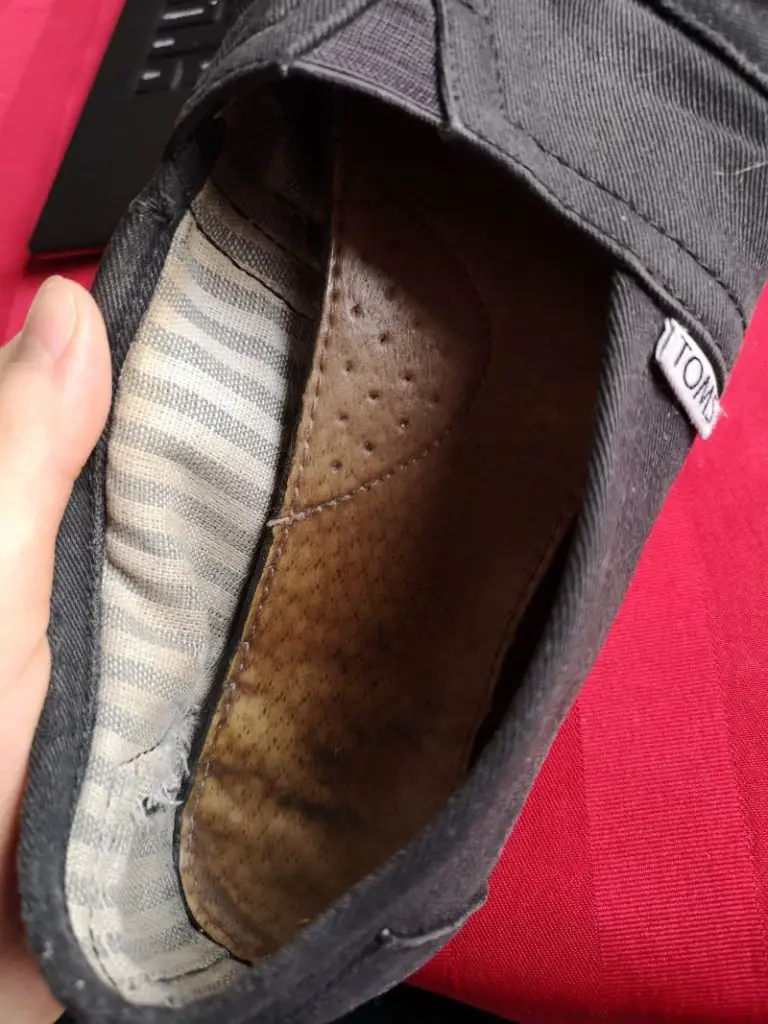
Glue guns can work well with items that don’t need a ton of stickiness/strength to glue back together. In my case, it was a pair of brand-new Toms that I’d gotten at the thrift store.
I wore them all the time in the summer and there was nothing wrong with them other than the fact that the leather insole of the right shoe had come off and kept sliding around every time I wore the shoes.
I really liked the insoles that came with my Toms, so I took my glue gun and made a circle around the perimeter of the insole (and a few lines across) before sliding the insole back in and pressing it down.
Of course, make sure that you can use glue on the desired surface (glue gun glue tends to be the safest bet anyways because you can often just peel it off when it cools down and it doesn’t tend to corrode anything like the stronger glues can).
You can always test an inconspicuous portion of the material first to double-check. So far, I’m glad to say that the glue has stayed put!
5. Use a Strong Glue to Fix Waterproof Items or Items That Need a Stronger Stick
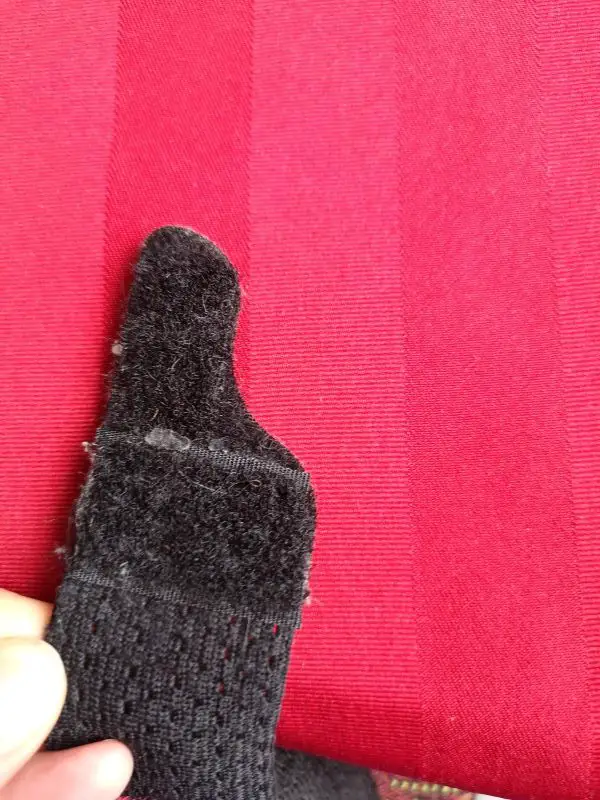
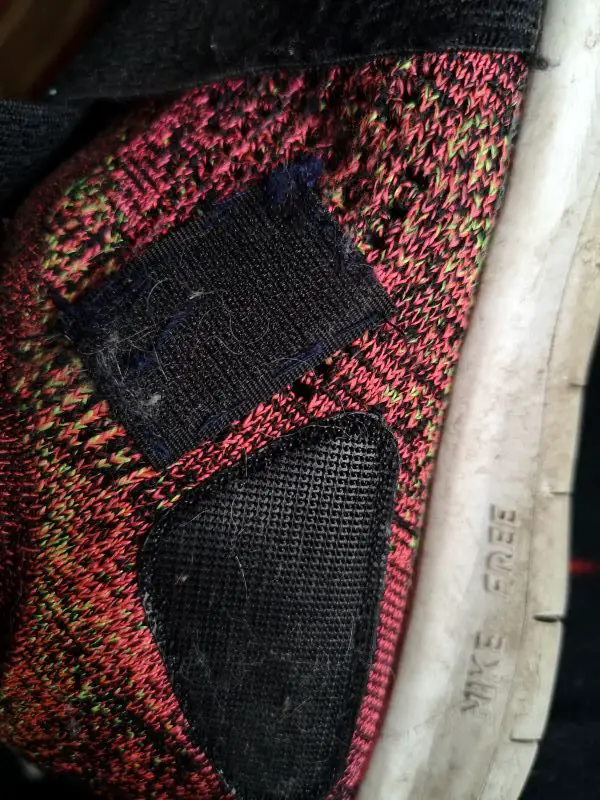
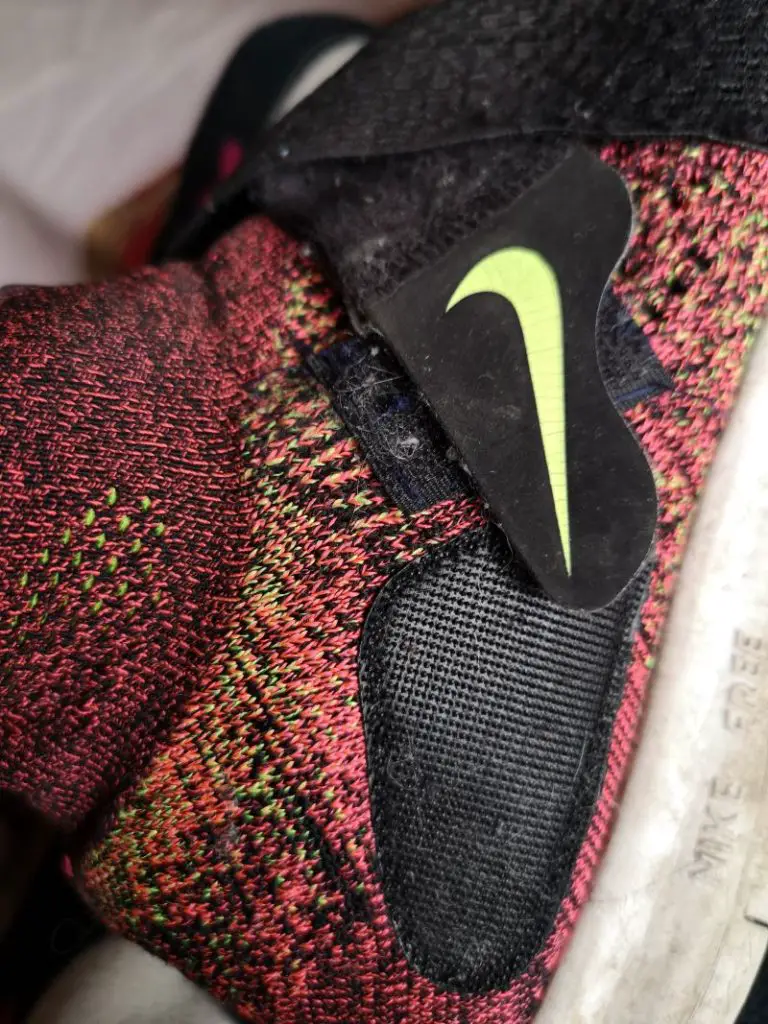
Because I wear orthotics in my running shoes, they tend to push my foot up and make the shoe feel a lot smaller. As a result, I had to get an elastic running shoe, and the Nikes in the picture below were perfect.
Unfortunately, the orthotics pushed my insole up so much that I had to add extra Velcro so that the shoe could close, but with the amount of opening and closing of the straps I did, the Velcro soon wore out and stopped sticking.
When I took my Nikes to the local (affordable) shoe repair, he estimated that it would cost me $20 to repair each shoe, and he’d have to cut off part of the Velcro so he could attach a new one.
I was on a really tight budget, so I decided to fix the shoes myself.
I’d used to hand sew new Velcro in, but it was really hard to push the needle through and took me hours of painful work, plus it didn’t last very long, so I realized I’d need glue.
I bought some Velcro from the dollar store, carefully cut out a few pieces to fit the shape of the straps, and used Amazing Goop glue on them (make sure to wear gloves/a mask, use the glue in a well-ventilated area and follow the instructions carefully!).
Then, I placed a piece of parchment paper on my balcony and placed the glued Velcro portion flat.I covered it with another piece of parchment paper and laid my heaviest books on top to push the glue down as it dried overnight (pushing it down with a heavy object is key, as the glue will stay on much better and is less likely to peel off).
To stop anything from ripping off, I just slide the shoes on and off my foot now like a sock instead of opening the Velcro every time.
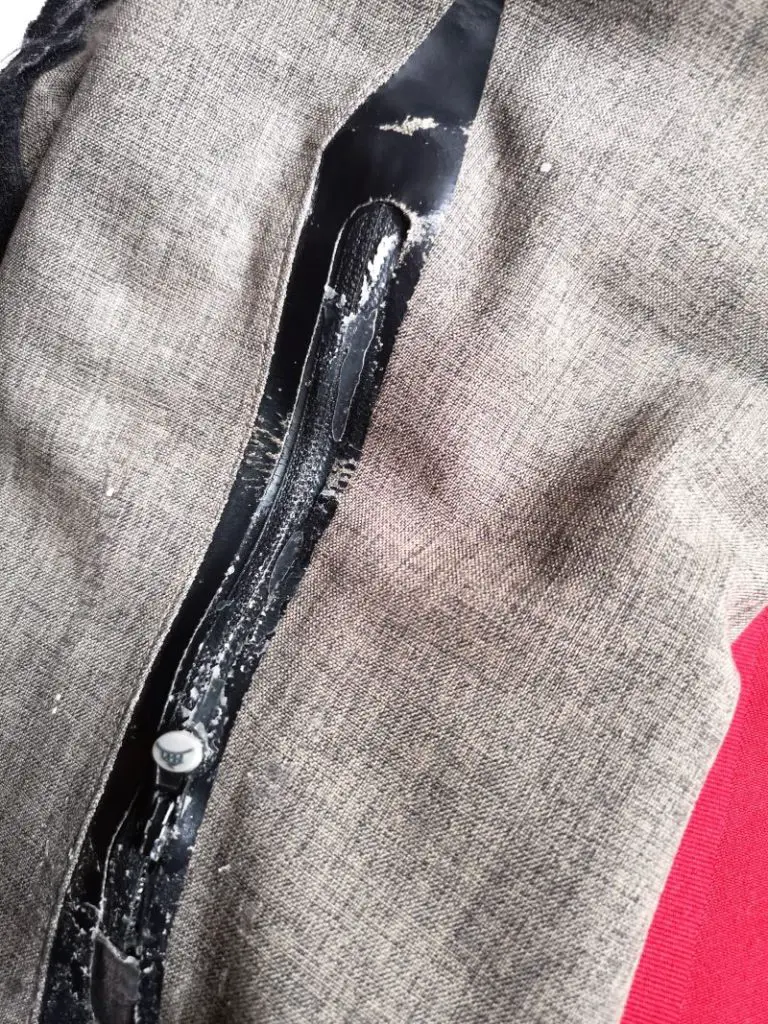
Similarly, I had a rain jacket that ripped right around the zipper on the arm (see image below).
I don’t have an industrial sewing machine that can sew through the rubber-like material of the jacket, and given how expensive a good rain jacket can be, I decided to fix it using Amazing Goop glue.
I used a popsicle stick to spread the glue around (you can buy a pack of popsicle sticks from the dollar store) and used the same parchment paper/heavy books method as I did with the Nikes. The opening stayed shut and they’re good as new!
You can also use Amazing Goop to fix things like rubber boots (this works best with boots that you’re going to use to do yard work or something where you don’t care about the boots’ appearance).
6. Mending Clothes by Hemming Your Pants
I’ve had quite a few hems rip in the washing machine, and I’ve also had pants where the hem needed adjusting.
Instead of throwing the pants out, I just fix the hem myself. The only time I’d go to the tailor is if they’re expensive pants that I really don’t want to ruin or with thicker materials that my sewing machine can’t puncture very well.
With pant length in particular, keep in mind whether you’ll primarily be wearing flat shoes or heels with the pair of pants in question.
In the image below, I’ve done an invisible hem using a similar technique to the tutorial below from TailorCrazed demonstrates:
Remember, if you hand sew the hem yourself, you might want to hand wash the piece from then on or at least wash it on the gentle cycle. I ripped a hem that I’d hand-sewn like this when I put it in a not-so-gentle washing machine.
7. Sew Loose Seams Back Together
You can do this either by hand or using a sewing machine, if you have one. This is also a pretty easy fix, and I’ve done it many times for items that have gotten holes in them across the seams.
I basically turn the garment inside out and sew along the seam, going just a bit above and below where the opening was to make sure it doesn’t rip again.
Here’s a tutorial to help you get started:
Remember that if you are new to sewing and are worried about ruining the garment, take two scrap pieces of fabric and sew them together for practice before you start on the garment you want to fix.
If you’ve never sewn before but want to learn how you can mend your clothes, check out this helpful step-by-step sewing tutorials YouTube channel for beginners.
8. Use Clear Nail Polish to Stop Pantyhose Rips from Going Further
My mom taught me this great trick back when I used to wear lots of tights and my nails kept getting caught in them and ripping them.
While you’re wearing the pantyhose, take a bit of clear nail polish and gently brush it over the rip, covering all the edges (you can carefully lift it off with your hand while it dries so it doesn’t touch your skin).
While this technique won’t totally fix your pantyhose/tights in most cases, it can extend their life by stopping rips and snags in their tracks, and can help you save your tights if you’re going to an important event and don’t have an extra pair if something goes wrong!
8 Invaluable DIY Tricks for Mending Clothes – Final Thoughts
Once you have a few go-to ways to mend your clothes, you’ll find that you keep more of your clothes as you won’t have to throw them out the moment they get ripped through inevitable wear and tear.
Plus, you’ll save money by fixing your clothes instead of taking them to the tailor!
I also find these tricks for mending clothes are a fun way to be creative and figure out how you can best fix the item (and be satisfied that it isn’t in the landfill).
What’s your favorite technique for mending clothes?
Posts Related to Mending Clothes
- How to Make Clothes Last Longer: 7 Easy Tips to Help Your Wardrobe (And Your Wallet)
- How to Spot Quality Clothes: 8 Tips for Smarter Purchases
- Top 10 Common Clothing Materials: An Overview



Leave a Reply